
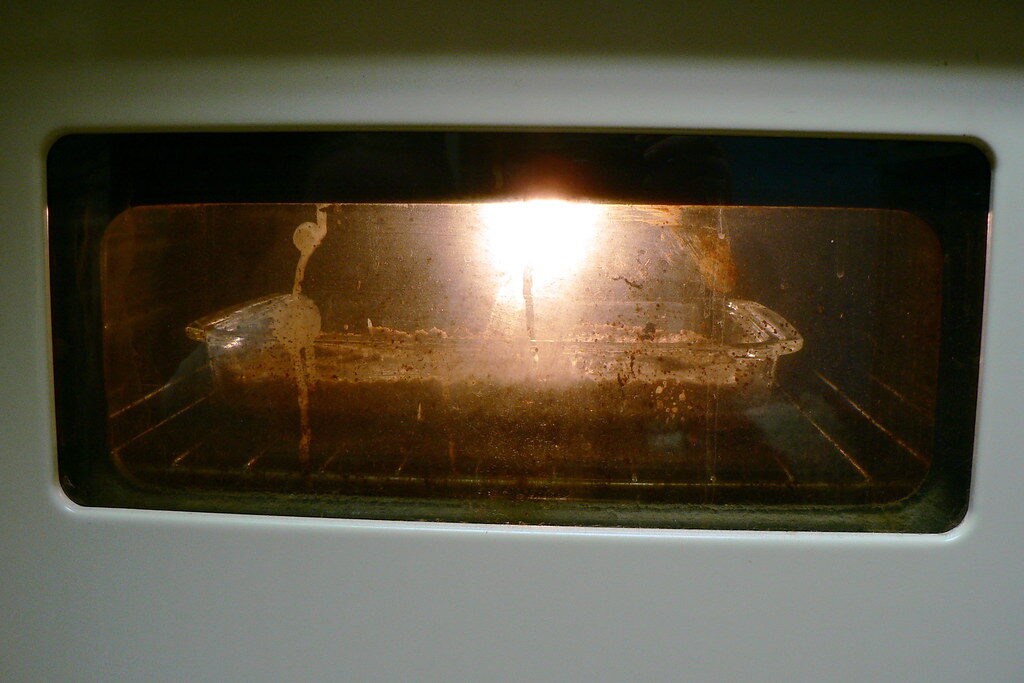
A clean oven cooks better, lasts longer, and keeps your kitchen smelling fresh — but baked-on grease and burnt-on spills can make the job feel overwhelming. The good news? You don’t need expensive chemical cleaners to get a spotless oven. With simple ingredients like baking soda and vinegar, plus a little time, you can deep clean your oven naturally and safely.
This complete guide walks you through exactly how to clean an oven from top to bottom — including the interior, racks, door glass (even between the glass), odors, and stubborn baked-on grease. Let’s get your oven sparkling and ready for your next meal.
Key Takeaways
- Clean your oven every 3 months, with quick wipe-downs of spills as they happen.
- Use baking soda and vinegar for a safe, natural, chemical-free deep clean.
- Let the baking soda paste sit overnight for the best grease-cutting results.
- Don’t skip the door glass — including the space between the panes.
- Avoid bleach, ammonia, and steel wool inside the oven to protect surfaces and your health.
Why It’s Important to Regularly Clean Your Oven
Keeping your oven clean does more than make it look good. Regular cleaning:
- Improves food taste by eliminating burnt residue and smoke
- Prevents smoke and odors caused by old grease igniting during use
- Reduces fire risk from built-up grease and food debris
- Boosts efficiency so your oven heats evenly and works as intended
- Extends the appliance’s lifespan
A clean oven simply performs better — and it makes cooking far more enjoyable.
How Often Should You Clean Your Oven?
As a general rule, deep clean your oven every three months. Adjust based on how often you cook:
- Avid cooks and bakers may need to clean every 1–2 months
- Wipe up spills right away (once the oven cools) to prevent buildup
- Do a quick wipe-down of the interior after heavy cooking sessions
- Clean immediately if you notice smoke, lingering smells, or visible grease
Staying on top of small messes means your deep cleans will be faster and easier.
What You’ll Need: Supplies & Tools
Gather everything before you start:
Supplies
- Baking soda
- Distilled white vinegar
- Mild dish soap
- Warm water
Tools
- A spray bottle
- Microfiber cloths
- A sponge and a non-scratch scrub pad
- A toothbrush or small brush (for corners and gaskets)
- A plastic spatula or scraper (never metal)
- Rubber gloves
- An oven-safe bowl or baking dish (for steam cleaning)
How to Clean an Oven With Baking Soda & Vinegar (Step-by-Step)
This natural method is the most effective way to clean an oven without harsh chemicals. Make sure the oven is completely cool before you begin.
1. Remove the Oven Racks
Take out the oven racks and any other removable parts (like thermometers or liners). Set them aside to soak and scrub separately (see the rack section below).
2. Vacuum Out Loose Debris
Use a handheld vacuum or brush to remove loose crumbs, ash, and food particles from the bottom of the oven. Clearing debris first makes the deep clean much easier and less messy.
3. Steam Clean to Soften Grime
A quick steam loosens baked-on grease so it wipes away more easily:
- Fill an oven-safe bowl with water and 1 cup of distilled white vinegar.
- Place it on a rack and heat the oven to about 450°F for 30 minutes (up to 60 for heavy grease).
- Turn off the oven and let it cool completely with the door closed before continuing.
4. Apply Baking Soda Paste and Let It Sit Overnight
Mix baking soda with a few tablespoons of water to form a spreadable paste. Coat all the interior surfaces — walls, floor, and the inside of the door — avoiding the heating elements and any vents. Let it sit overnight (or at least 8–12 hours) to break down grease and grime.
5. Scrub and Wipe the Interior
Wipe out the dried paste with a damp cloth or sponge. For stubborn spots, scrub gently with a non-scratch pad or use a plastic spatula to lift residue. Rinse and wring your cloth often.
6. Spray With Vinegar for a Final Wipe
Spray any remaining baking soda residue with distilled white vinegar — it will foam as it reacts. Wipe everything down with a clean, damp cloth until the surfaces are smooth and residue-free. (Lemon juice works as a vinegar alternative.)
How to Clean Oven Racks
Oven racks need a separate soak to break down baked-on grease:
- Place the racks in a bathtub, large sink, or heavy-duty trash bag.
- Cover them with hot water and a few drops of dish soap — or sprinkle with baking soda and spray with vinegar, then add hot water.
- Soak for at least a few hours or overnight.
- Scrub with a stiff brush or non-scratch pad. A gentle abrasive powder (such as Bon Ami) can help with tough spots.
- Rinse and dry completely before sliding the racks back into the oven.
Tip: Lay an old towel in the tub first to prevent scratching the surface.
How to Clean the Oven Door Glass
The interior door glass collects greasy film that’s easy to overlook:
- Sprinkle the glass with baking soda, then spray lightly with water to form a paste.
- Let it sit 15–30 minutes to loosen the grime.
- Wipe in a circular motion with a damp microfiber cloth or non-scratch pad.
- Spray with vinegar and buff dry for a streak-free, see-through finish.
How to Clean Between the Oven Door Glass
If you notice grime trapped between the panes, you have two options:
- Through the vents: Many oven doors have small slots along the bottom edge. Wrap a thin, flat tool (like a paint stick) in a microfiber cloth, dampen it with a vinegar solution, and slide it through the vents to wipe the inner glass.
- By removing the door: For a thorough clean, you can often lift the door off its hinges and partially disassemble it to access the glass directly. Check your owner’s manual first, as the process varies by model.
⚠️ Always work gently with glass and consult your manual before disassembling the door.
How to Remove Oven Odors
Lingering smells usually come from burnt residue or old grease. To deodorize:
- Make sure the oven is clean first (odors cling to leftover grime).
- Fill an oven-safe dish with water and a sliced lemon (or a splash of vinegar).
- Heat the oven to about 350°F for 30–45 minutes, then let it cool.
- Wipe down the interior once more for a fresh, neutral smell.
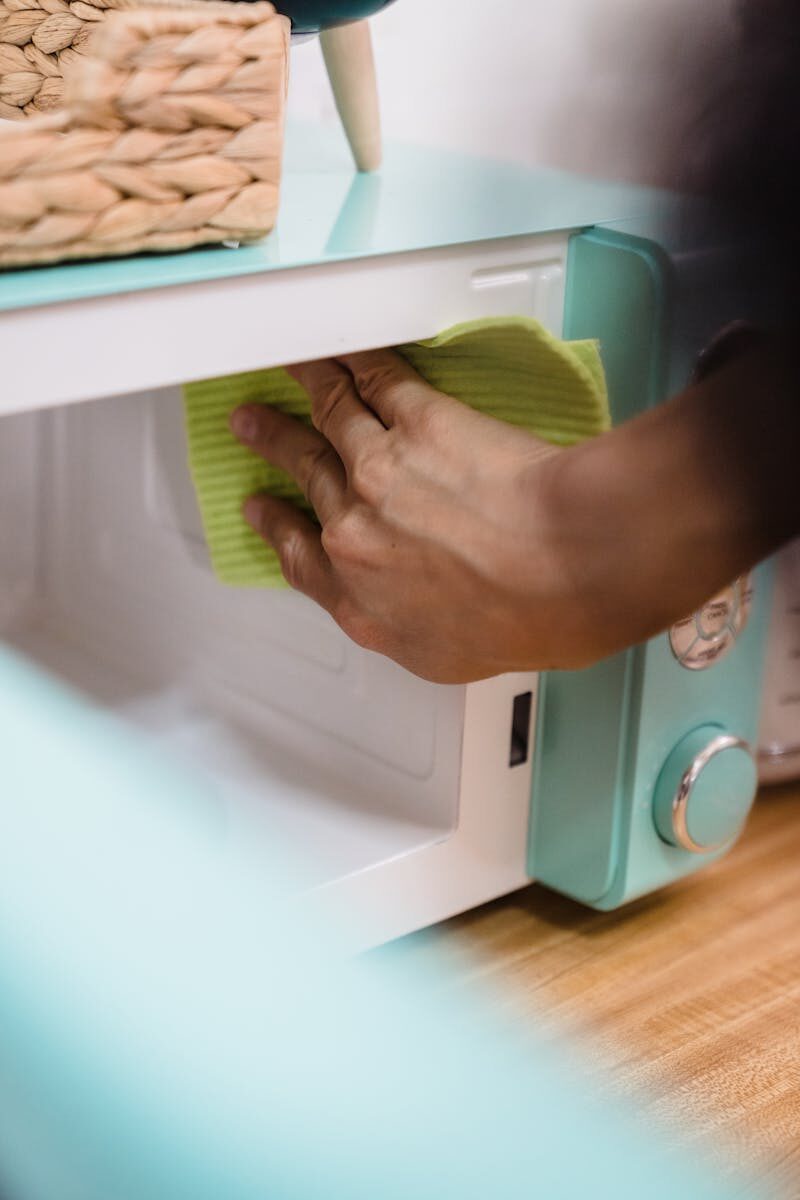
How to Clean the Oven Exterior & Knobs
Finish by cleaning the outside surfaces:
- Painted or glass exterior: Wipe with warm, soapy water and a soft microfiber cloth.
- Stainless steel: Use a stainless steel cleaner, wiping with the grain for a streak-free shine.
- Knobs and handles: Remove the knobs if possible and wash them in warm, soapy water. Wipe the control panel gently — never spray cleaner directly onto controls.
How to Tackle Stubborn Stains & Baked-On Grease
For the toughest messes, target them directly:
- Baked-on grease: Apply a thick baking soda paste, let it sit overnight, then scrub. Repeat as needed.
- Burnt-on food and spills: Spray with vinegar to soften, then gently lift with a plastic scraper — never metal, which scratches.
- Greasy film: A 50/50 vinegar-and-water spray cuts grease effectively.
- Melted plastic: Turn the oven to its lowest setting briefly to soften the plastic, turn it off, then carefully scrape it away with a wooden or plastic tool while warm (wear gloves and keep the area ventilated).
Should You Use the Self-Cleaning Feature?
Many ovens have a self-cleaning cycle, but it’s worth understanding the trade-offs.
How Self-Cleaning Ovens Work
The self-clean cycle heats the oven to extremely high temperatures (often 800–900°F) to burn food residue into ash, which you then wipe away. A typical cycle runs 2–4 hours, and the door locks until it cools.
Pros: Minimal scrubbing for light-to-moderate buildup.
Cons: It produces strong fumes and smoke (ventilate well and keep pets/birds away), can stress oven components, and the intense heat occasionally damages parts. Many cleaning experts prefer the natural baking soda method for routine cleaning.
Tip: If you do use it, remove the racks first and wipe out loose debris beforehand. Never use commercial oven cleaner inside a self-cleaning oven.
Safety Tips (What to Avoid)
Protect yourself and your appliance by avoiding these common mistakes:
- Bleach — produces hazardous fumes and isn’t safe for oven interiors.
- Ammonia — effective but releases strong fumes; never mix it with bleach (this creates toxic gas). Use only with excellent ventilation, or skip it entirely.
- Steel wool and metal scrapers — scratch and damage interior surfaces; use a non-scratch pad or plastic scraper instead.
- Cleaning the heating elements directly — wipe around them, not on them.
- Always wear gloves, ensure good ventilation, and make sure the oven is cool before cleaning.
How to Keep Your Oven Clean (Prevention)
A little maintenance prevents big scrubbing sessions later:
- Wipe spills as soon as the oven cools
- Line the bottom with an oven liner or place a baking sheet on the rack below to catch drips
- Avoid overfilling dishes that tend to bubble over
- Do a light wipe-down after heavy cooking
- Run a steam clean monthly to keep grease from building up

When to Call a Professional
Sometimes an oven needs more than a routine clean. Consider professional help when:
- You’re facing years of baked-on grease or a severely neglected oven
- You need a deep clean for a move-out or move-in
- The buildup is overwhelming or won’t budge with DIY methods
- You simply want it done thoroughly and effortlessly
If you’re in Florida and want a spotless kitchen without the hassle, contact Top Cleaning FL for a free quote — our team handles deep oven and kitchen cleaning so you can skip the scrubbing and enjoy a fresh, sanitized space.
Frequently Asked Questions
What’s the best way to clean the inside of an oven?
The best way to clean the inside of an oven is with a baking soda paste left to sit overnight, then scrubbed and wiped clean, followed by a vinegar spray to dissolve any residue. This natural method is safe, effective, and chemical-free.
What’s the fastest way to clean a very dirty oven?
For a fast clean, start with a vinegar steam (heat a bowl of water and vinegar at 450°F for 30 minutes) to soften grime, then apply a baking soda paste and scrub. For extremely dirty ovens, you may need to let the paste sit longer or repeat the process. The self-cleaning cycle is another fast option, but it produces fumes.
Can I use Dawn to clean the inside of my oven?
Yes. Dawn (or any mild dish soap) mixed with warm water is safe and effective for general oven interior cleaning and works especially well on removable racks. For baked-on grease, combine it with the baking soda method, and rinse thoroughly afterward.
How do I get burnt stuff off the bottom of my oven?
Cover the burnt area with a thick baking soda paste, let it sit overnight, then scrub with a non-scratch pad. Spray with vinegar to lift any remaining residue, and use a plastic scraper (never metal) for stubborn spots.
Can I use lemon juice to clean my oven?
Yes. Lemon juice is a natural, acidic cleaner that cuts grease and freshens the oven. You can spray it in place of vinegar after applying baking soda, or heat a dish of lemon water in the oven to deodorize and loosen grime.
Is it safe to use steel wool on oven racks?
No — avoid steel wool, as it scratches surfaces. Instead, soak the racks and scrub with a stiff brush or non-scratch pad, using a gentle abrasive powder like Bon Ami for tough spots. Always wear gloves and work in a ventilated space.