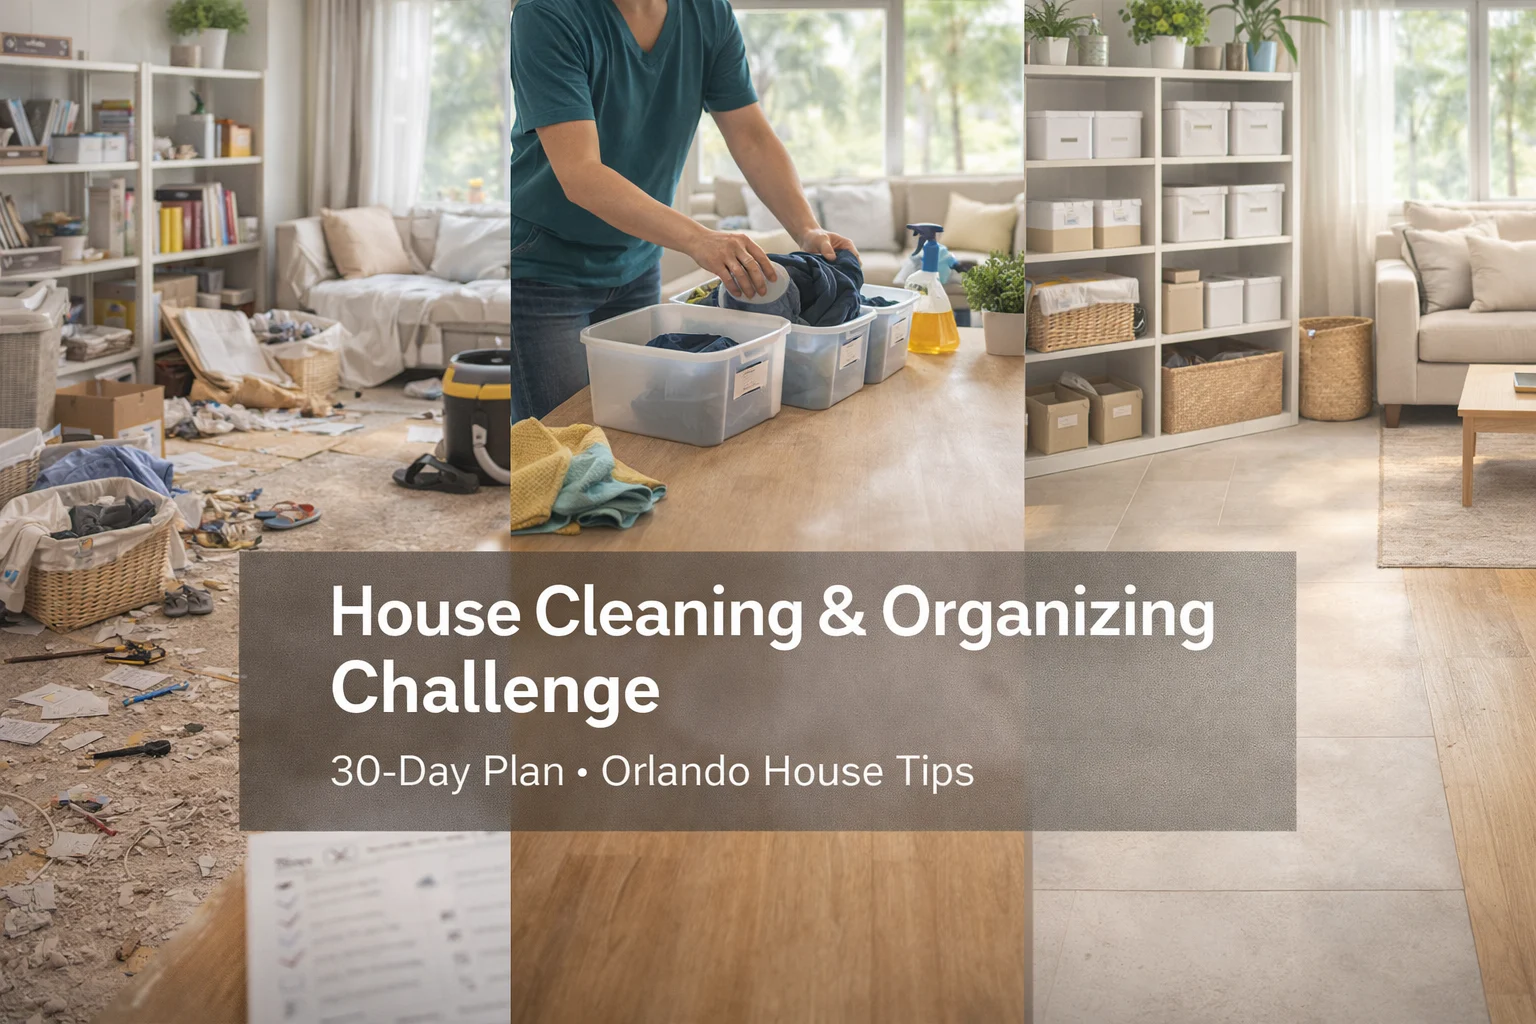
Post-renovation work can make your home look brand new—but it can also leave behind fine dust, debris, and residue that makes the space feel unfinished. A proper post-renovation cleaning helps your home feel truly livable again, protects new finishes, and improves indoor air quality.
Key Takeaways
- Post-renovation cleaning makes your space dust-free, safe, and comfortable to live in.
- A detailed checklist and the right supplies make cleaning faster and more effective.
- Fine dust removal (especially top-to-bottom) is the priority.
- Kitchens, bathrooms, and floors need extra attention after most renovation projects.
Why Post-Renovation Cleaning Is Essential
After a renovation, visible mess may be gone—but fine construction dust can linger on surfaces, inside cabinets, and even in air vents. This can irritate allergies and respiratory conditions and can also dull or damage new finishes if it’s left to settle.
Benefits of a Clean Space Post-Renovation
- Helps HVAC systems run more efficiently (less dust recirculating).
- Reduces health risks from fine dust and allergens.
- Protects new surfaces, fixtures, flooring, and paint from abrasion and buildup.
- Makes the home feel fully “move-in ready” again.
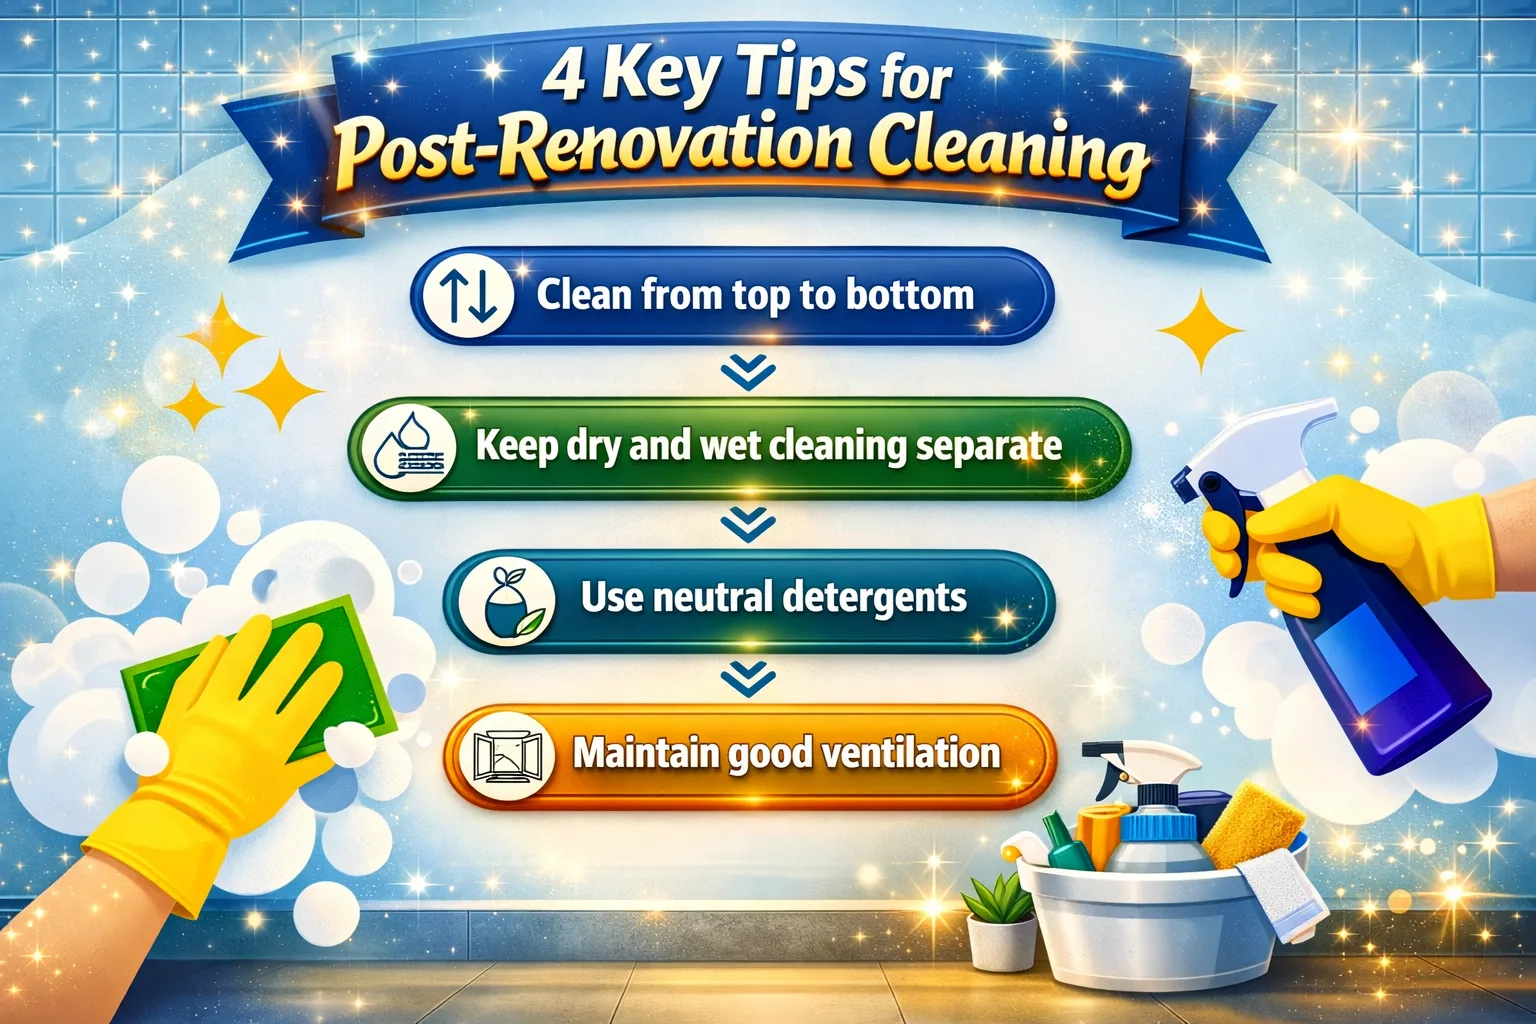
Before You Start: Safety and Prep
Renovation dust can be very fine and irritating. A few prep steps make cleaning safer and prevent damage to newly finished areas.
Safety Essentials
- Wear a mask (N95 or similar) if dust levels are heavy.
- Use gloves when handling debris and cleaning products.
- Open windows and use fans for ventilation when possible.
- Keep kids and pets away from work zones until cleaning is complete.
Protect New Finishes
- Confirm paint and caulk have had enough time to dry/cure before scrubbing.
- Use non-abrasive cloths and gentle tools on new surfaces.
- Avoid soaking areas where water could seep into new trim or flooring edges.
Clean in Phases (Because Dust Settles Again)
Many homeowners clean once and feel like dust immediately returns. That’s normal—construction dust continues to settle for days.
A Simple Timeline That Works
- Phase 1 (same day or next day): remove debris + initial dust removal + floor vacuum.
- Phase 2 (48–72 hours later): re-dust + wipe surfaces again + clean floors again.
- Phase 3 (about 1 week later): final detail clean (vents, baseboards, blinds, fixtures).
This approach prevents frustration and keeps your home feeling clean long-term.
Preparing for the Big Clean: Your Checklist
Why a Checklist Is Crucial
A checklist keeps you from missing hidden dust hotspots and helps you clean in a logical order without redoing work.
What to Include in Your Checklist
- List every room and finishing area (including closets, hallways, and laundry rooms).
- Note surfaces that collect dust: vents, trim, baseboards, shelves, window sills.
- Identify high-traffic and high-use areas that need deeper attention: kitchens and bathrooms.
- Gather the right supplies before you begin so you don’t stop mid-clean.
The Right Cleaning Supplies for the Job
Essential Cleaning Supplies
Choose tools that trap fine dust instead of spreading it around.
- Microfiber cloths (great for fine dust and wiping without scratching)
- HEPA vacuum (best for capturing fine particles)
- Soft brush attachments (vents, trim, baseboards)
- Mild cleaning solution (for residue, smudges, and stubborn spots)
- Mop and bucket (or a spray mop) for hard floors
- Trash bags and a dustpan for larger debris
How to Use Each Tool
- Use a dry microfiber cloth for initial dusting on delicate surfaces.
- Use a slightly damp microfiber cloth for wiping residue (don’t oversoak).
- Use a HEPA vacuum for floors, edges, corners, and upholstery.
- Use a damp mop with a mild solution for final floor cleaning.
Dust Removal: The Top-to-Bottom Approach
The most efficient method is to clean from the highest surfaces down. That way, dust falls onto areas you haven’t cleaned yet.
Step-by-Step Dust Removal
- Start with ceiling corners, crown molding, and high shelves.
- Clean ceiling fans and light fixtures.
- Wipe walls (spot clean), doors, and trim.
- Move to window sills, blinds, and baseboards.
- Finish with floors (vacuum first, mop last).
Pro Tip
Replace or rinse cloths frequently. Dirty cloths spread dust instead of removing it.
Renovation Cleaning Order (Most Efficient Sequence)
If you want a simple process that prevents re-cleaning, follow this order:
- Remove large debris and trash.
- HEPA vacuum floors and corners to collect loose dust.
- Dust/wipe all surfaces top-to-bottom.
- Clean inside cabinets, drawers, and shelves.
- Wipe high-touch points: switches, handles, railings.
- Vacuum again (especially edges and corners).
- Mop hard floors last.
- Clean windows and mirrors at the end for a polished finish.
Focus on High-Traffic Areas: Kitchens and Bathrooms
Why These Areas Need Special Attention
Kitchens and bathrooms collect dust on smooth surfaces and in corners, and they also require sanitation—not just dust removal.
Kitchen Cleaning After Renovation
- Wipe all counters and surfaces (including backsplash).
- Clean appliances (exterior first; interior if dust entered).
- Wipe cabinet fronts, handles, and edges.
- Clean inside cabinets and drawers before putting items back.
Bathroom Cleaning After Renovation
- Clean tiles, grout lines, and corners where dust settles.
- Wipe fixtures and polish mirrors.
- Sanitize toilet, sink, and shower areas thoroughly.
- Clean inside vanity drawers and cabinets before reloading.
Dealing With Stubborn Debris (Without Damaging Surfaces)
Renovations can leave behind residue like paint specks, adhesive, or heavy dust buildup. Always match your method to the surface.
Tackling Tough Messes
- Carpets: HEPA vacuum slowly and use attachments for edges and corners.
- Hardwood floors: use a lightly damp mop and a gentle cleaner approved for wood.
- Tile floors: vacuum first, then mop; pay attention to grout lines.
- Large debris: sweep or use a dustpan before vacuuming to protect your machine.
Avoid These Common Mistakes
- Don’t dry-dust heavy fine dust with feather dusters (it goes airborne).
- Don’t soak new surfaces—water can damage edges, seams, or fresh trim.
- Don’t use harsh chemicals on new finishes unless they’re approved for that material.
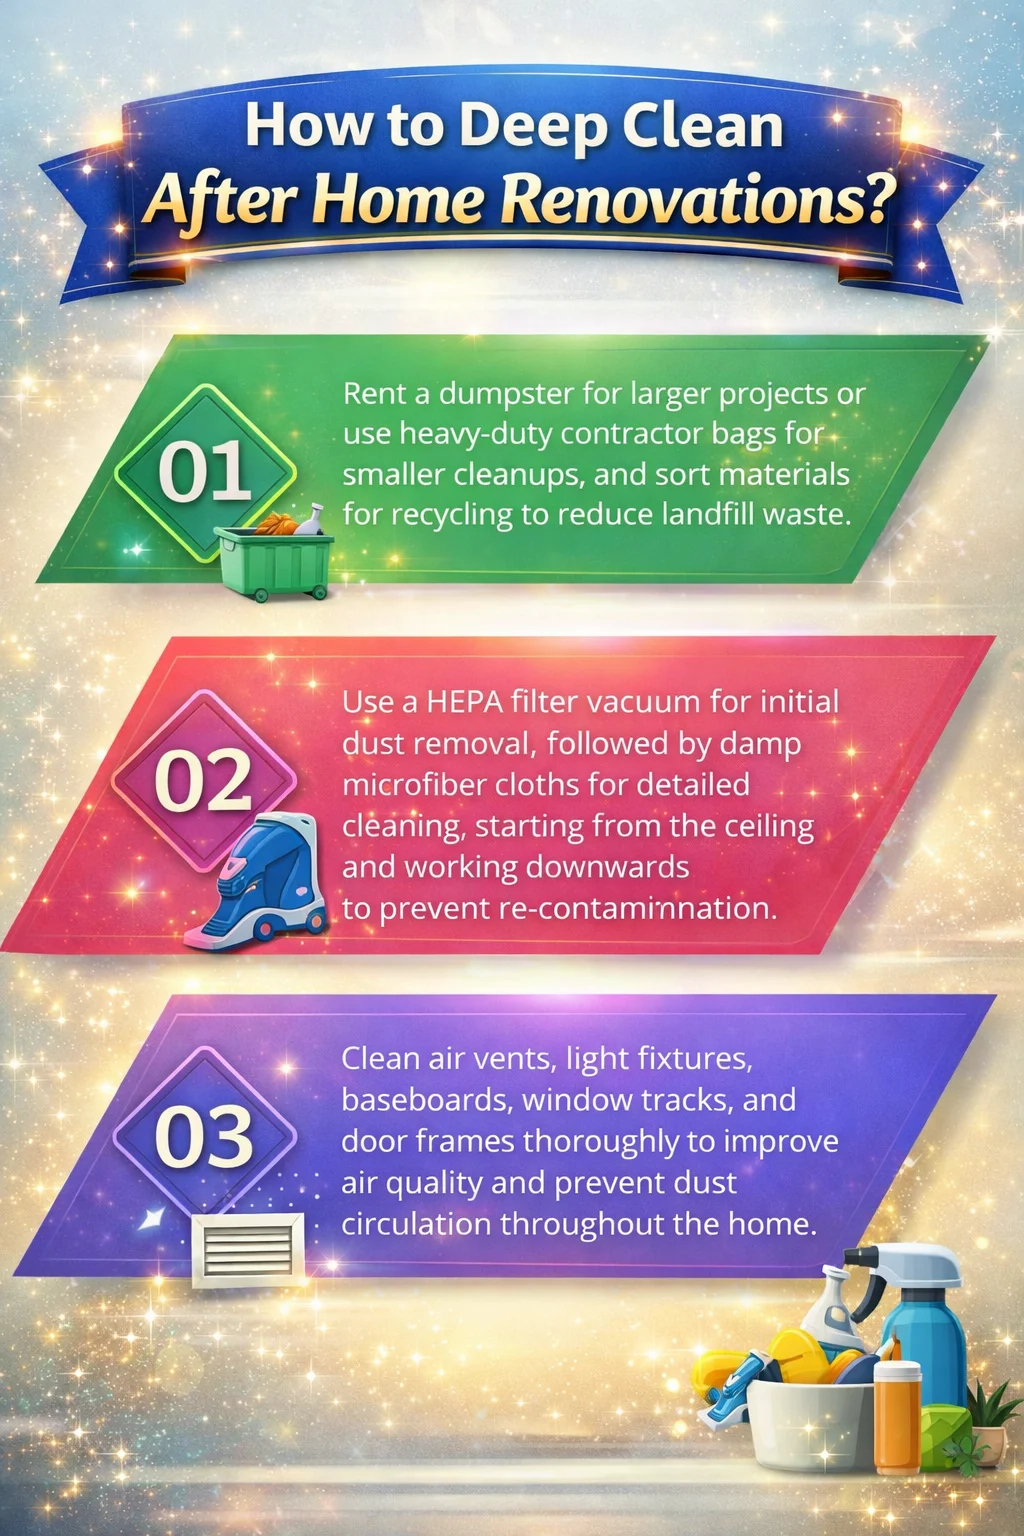
Post-Construction Cleaning Essentials (Don’t Skip These)
Once the heavy dust is under control, these steps bring the “finished” feel:
- Dust and wipe all surfaces including trim, frames, and fixtures.
- Clean windowsills, window tracks, and glass (glass last).
- Deep clean floors: vacuum edges and corners, then mop.
- Wipe cabinets and shelves before returning household items.
- Replace HVAC filters and wipe vent covers.
When to Consider Professional Cleaning Services
If the cleaning feels overwhelming—or the project produced significant dust—professional help can save time and deliver a more thorough finish.
Benefits of Professional Help
- Faster results with pro-grade tools (including HEPA systems).
- Better reach into detailed areas like vents, trim, and tight corners.
- Helpful for large renovations, move-in timelines, or allergy-sensitive households.
Professional cleaning is especially useful after projects involving drywall sanding, flooring replacement, or large-scale remodeling.
Minimizing Mess During the Renovation Process
You can reduce post-renovation cleaning time by controlling dust while the work is happening.
Keep It Cleaner From the Start
Ask your contractors to:
- Seal off construction zones with plastic sheeting or tarps.
- Do daily quick cleanups (sweeping and collecting debris).
- Use dust-control tools when cutting or sanding.
- Keep pathways covered to reduce tracked dust into other rooms.
Final Touches: Keeping Your Home Clean After Renovation
Even after a deep clean, fine dust may continue to settle temporarily. A simple maintenance routine keeps the space feeling fresh.
Maintenance Practices
- Dust regularly using microfiber cloths for the first 1–2 weeks.
- Vacuum frequently to capture settling dust.
- Mop hard floors as needed (avoid soaking).
- Change HVAC filters regularly to maintain good airflow and air quality.
- Consider using an air purifier to reduce airborne dust during the first weeks.
Post-Renovation Cleaning Checklist (Printable)
Use this quick checklist for your final pass:
Whole Home
- Ceiling corners and high shelves
- Ceiling fans and light fixtures
- Doors, trim, and baseboards
- Window sills and tracks
- Switches and handles
- Floors vacuumed (edges + corners)
- Hard floors mopped
Kitchen
- Counters and backsplash
- Appliances wiped down
- Cabinets and handles
- Inside drawers/cabinets (before restocking)
Bathrooms
- Shower/tub and tile edges
- Sink, toilet, and mirror
- Grout lines wiped/scrubbed
- Vanity drawers/cabinets wiped
Air Quality
- HVAC filter replaced
- Vent covers wiped/vacuumed
- Air purifier (optional) set up
A thorough renovation cleaning is the final step that turns a project into a truly comfortable home. With the right supplies, a top-to-bottom plan, and a checklist you can follow, you’ll be able to enjoy your new space without lingering dust and debris.