
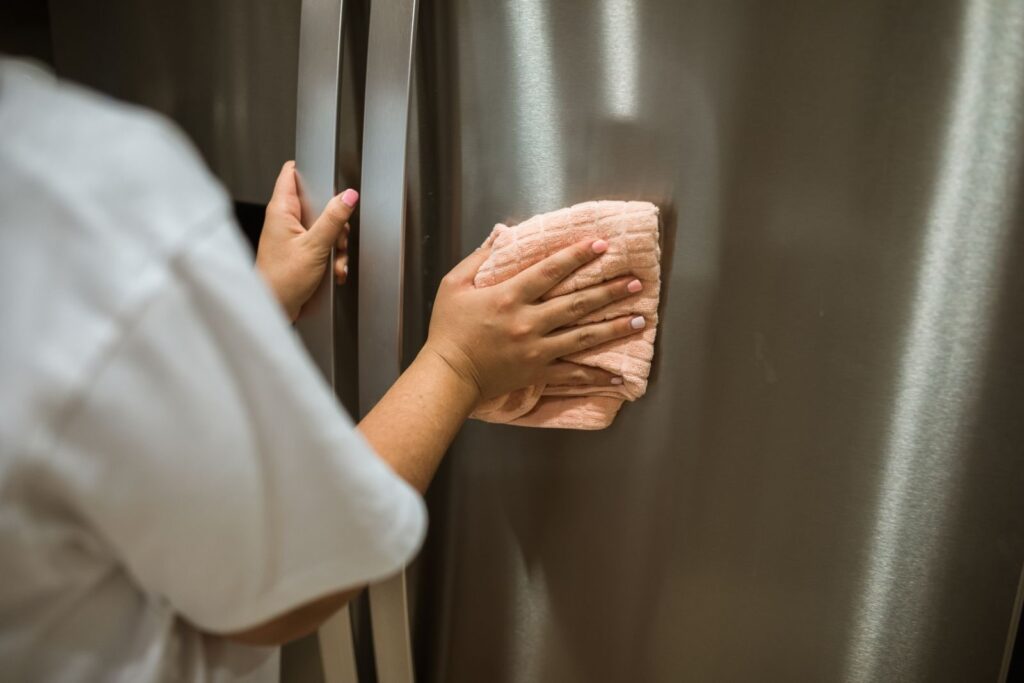
You open the fridge to grab something for dinner, and a strange smell hits you. Something is off, but you can’t tell what. Maybe it’s a forgotten container in the back, maybe a spill that dried on a shelf, or maybe it’s just the sum of everything in there.
The good news is that you can fix this with a simple method. In this guide, you’ll learn how to empty and clean your fridge from top to bottom, track down odors, clean the freezer and hidden areas, and keep everything fresh longer, which comes in handy before holiday cooking and leftovers.
Key Takeaways
- Most fridge odors come from spills, old food, and hidden residue, so cleaning beats masking.
- Empty the fridge, sort what you keep, and store food safely while you work.
- Use mild cleaners, follow the manufacturer’s manual, and never mix products.
- Don’t forget door seals, handles, the freezer, and the hidden parts like the drip pan.
- Baking soda and other absorbers help, but they won’t fix an odor at its source.
- Small weekly habits keep the fridge fresh and make big cleanings easier.
Why Your Fridge Needs Regular Cleaning
A fridge is a closed space that holds a lot of different foods, and it’s easy for small messes to build up. You don’t notice a drip on a shelf or a lid that doesn’t quite seal, until the smell tells you something is wrong.
Spills, Old Food, and Odors
Odors usually start small. A splash of juice runs behind a drawer. A container of leftovers gets pushed to the back and forgotten. Strong-smelling foods like onions, fish, and cut produce can leave their scent behind if they aren’t stored well.
Over time, these small things add up and mix together. That’s why a quick wipe often doesn’t fix the problem. The smell lives in the residue, so you need to clean the surfaces themselves.
Food Safety Basics
A clean fridge is part of keeping food safe, but the details matter, and they come from official sources. For storage guidance, temperatures, and how long different foods keep, check the recommendations from the USDA and FDA rather than relying on memory or rules of thumb.
When you’re cleaning, the same principle applies: when you’re unsure whether a food is still good, throw it out.
Before You Start
A little preparation makes the job go faster and keeps your food safe.
Empty the Fridge and Sort Your Food
Take everything out, and sort as you go:
- Keep: Items that are fresh and safe to eat
- Toss: Anything expired, spoiled, or questionable
- Check: Sauces, condiments, and half-used jars that have been sitting for a long time
While you clean, keep the food you’re saving somewhere safe. A cooler with ice is a common option for perishable items, especially if the job will take a while. For official guidance on safe handling and how long food can be out of the fridge, check the USDA or FDA.
Work in stages if you need to, such as one shelf at a time, so the food isn’t out longer than necessary.
Supplies and Manual Check
You don’t need much:
- Dish soap and warm water
- Baking soda
- Microfiber cloths or soft sponges
- A soft brush or old toothbrush for corners and seals
- A small bowl or bucket
- Rubber gloves
Before you start, check your refrigerator’s manual. It will tell you which products are safe for your model, how to remove shelves and drawers, and what to avoid on certain finishes. Follow the product label, use one product at a time, and test a hidden spot first.
Step-by-Step Fridge Cleaning
Once the fridge is empty, you can clean it from top to bottom, so crumbs and drips fall onto surfaces you haven’t done yet.
Shelves, Drawers, and Walls
- Remove shelves and drawers if your manual allows it. Let glass shelves come to room temperature before washing them in warm water, since a sudden temperature change can crack them.
- Wash them by hand with warm water and a little dish soap. Rinse well and dry.
- Wipe the inside walls with a cloth dampened with warm, soapy water, working from top to bottom.
- Tackle sticky spots. Let a warm, damp cloth sit on them for a minute to soften the residue before wiping.
- Rinse with a cloth dampened with plain water to remove soap.
- Dry everything with a clean cloth before putting the shelves back.
- Wipe the bottom and check for liquid pooled under the drawers.
Avoid abrasive pads and harsh cleaners, which can scratch surfaces and leave smells of their own.
Door Seals and Handles
Door seals, also called gaskets, collect crumbs and grime in their folds, and they often hold odor and mildew. Use a soft brush or an old toothbrush dipped in warm, soapy water to clean the creases. Wipe with a damp cloth, then dry.
Don’t forget the handles and the edges of the doors. These are the spots your hands touch most, and they pick up grease and germs. Wipe them with a mild cleaner and dry well. Check your manual before using anything stronger on the seals, since some products can damage the rubber.
Getting Rid of Fridge Odors
If a smell lingers after cleaning, don’t reach for air fresheners. The better approach is to find the cause and treat it directly.
Find the Source
Work through the likely suspects:
- Hidden food in the back of shelves, drawers, or the door bins
- Spills that dripped behind or under a drawer
- Produce that has gone soft or leaked
- Door seals that hold old residue
- Drip tray or drain if your model has one
- The freezer, where thawed items may have left a smell
Sometimes the culprit is in plain sight, like a sealed container that isn’t actually sealed. Take your time and check each spot.
Baking Soda and Other Odor Absorbers
Once the fridge is clean, you can use an absorber to help keep odors in check. These can reduce faint smells, but they won’t remove an odor that still has a source. Think of them as backup, not a fix.
- Baking soda: An open box or a small bowl on a shelf is a common choice. Replace it when it’s been in there a while.
- Activated charcoal: Sold in small pouches or boxes made for refrigerators. Follow the product directions.
- Coffee grounds: Some people use a dry bowl of grounds. Keep it out of reach of food contact, and replace when it loses its scent.
Here’s a quick guide to common problems:
| Odor source | What to try | Prevention |
|---|---|---|
| Old or spoiled food | Remove it, then wash the area with warm, soapy water | Check leftovers regularly and toss what’s past its time |
| Spills on shelves or drawers | Remove the shelf or drawer, wash, rinse, and dry | Wipe up spills when they happen |
| Strong-smelling foods | Move them into airtight containers | Store onions, fish, and cut produce sealed |
| Door seals | Clean the folds with a soft brush and soapy water | Wipe the seals when you wipe the shelves |
| Drip tray or drain | Check your manual, then clean as instructed | Include it in your regular deep cleaning |
| Faint lingering smell | Place baking soda or an approved absorber inside | Replace the absorber on a regular basis |
Cleaning the Freezer and Hidden Areas
The freezer and the hidden parts of the fridge get overlooked, but they can add to odors and affect how well the appliance runs.
Freezer Basics
Before you start, check your manual. Some freezers need to be emptied and defrosted, while others are frost-free. If you do defrost, follow the manufacturer’s directions, and have towels ready for melting water.
Once it’s empty and defrosted, wipe the inside with warm, soapy water, then rinse and dry. Toss old, freezer-burned, or unlabeled items. For safe handling of frozen food, follow USDA or FDA guidance.
Drip Pan, Vents, and Coils
Some fridges have a drip pan, vents, or coils that gather dust and moisture. Where they are, and whether you can clean them yourself, depends on the model. Read your manual first. It will show you where each part is and how to reach it safely.
If you plan to clean coils or anything near the back or bottom of the appliance, follow the manufacturer’s safety instructions, including whether to unplug the unit. When the manual says to call a technician, do that instead.
Keeping Your Fridge Fresh Longer
A little regular care means you won’t have to do a big cleaning as often.
Weekly Habits
Pick a day, like the one before you grocery shop, and do a quick check:
- Look through leftovers and toss what’s past its time.
- Check produce drawers for anything soft or leaking.
- Wipe up spills and drips right away.
- Check the dates on sauces, dairy, and other items.
- Make room for the new groceries.
Ten minutes is often enough to keep small problems from becoming smelly ones.
Smart Storage
How you store food makes a big difference:
- Use airtight containers for leftovers and strong-smelling foods.
- Cover or wrap cut produce and open cans’ contents (transfer to a container).
- Group similar items so it’s easier to see what you have.
- Use clear containers so you remember what’s inside.
- Don’t overpack. Air needs to move around the food.
- Put a tray under raw meat to catch drips.
Add Fridge Cleaning to a Deep Clean
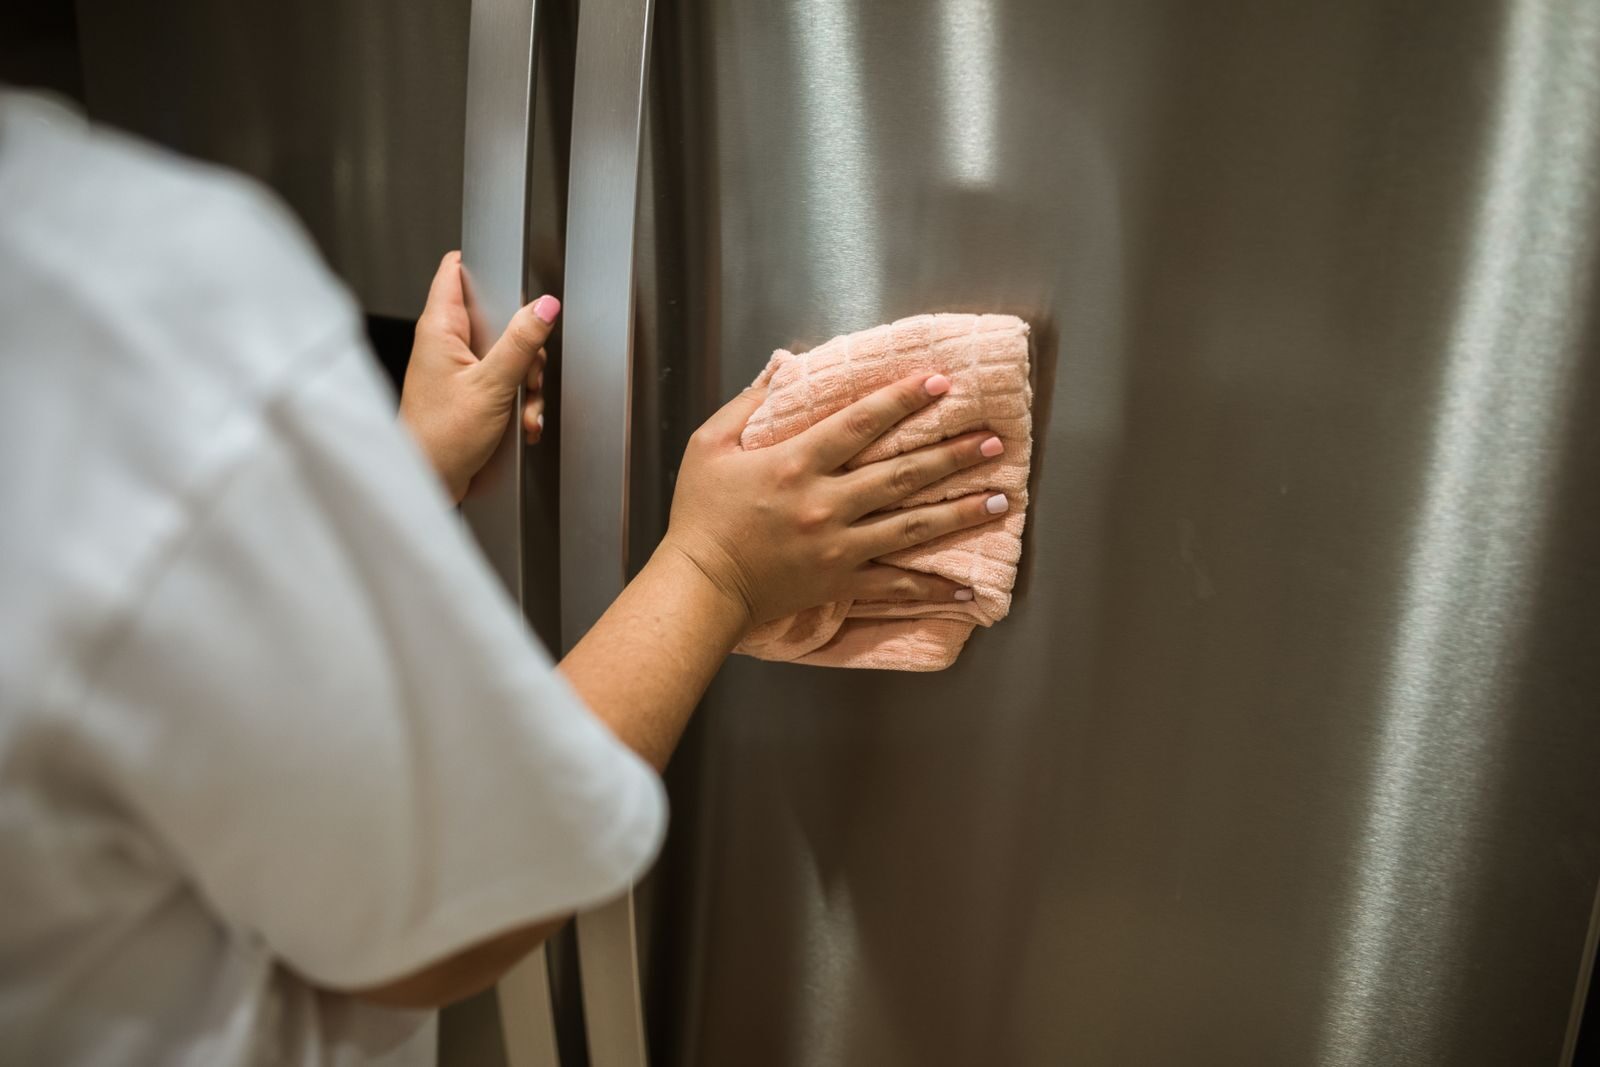
Cleaning a fridge isn’t hard, but it takes time, especially before a holiday, when the kitchen has a lot of other jobs on its list. That’s a good moment to think about adding it to a bigger cleaning.
When to Ask for Help
You might want help if you’re short on time, the fridge hasn’t been cleaned in a long while, or you’re getting ready for guests and have a full to-do list. A deep clean can cover the fridge along with other kitchen areas, so you can focus on cooking and family.
FAQ
How often should I clean my refrigerator?
There’s no single answer. It depends on how many people use it, how much food it holds, and how often spills happen. A quick weekly check and a more thorough cleaning when it needs one works for many homes.
Can I use vinegar to clean the inside of a fridge?
Some people do, but check your manual and the product label first. Use one product at a time, rinse well, and never mix vinegar with bleach or other cleaners. When in doubt, mild dish soap and warm water are a safe starting point.
Why does my fridge still smell after cleaning?
The source may be hidden. Check the door seals, the drip pan or drain, the freezer, and anything stuck behind drawers. If you still can’t find it, check your manual or ask a technician.
Should I unplug the fridge when cleaning it?
It depends on the model and the task. Check your manufacturer’s manual. For basic cleaning inside the fridge, many people leave it plugged in, but for cleaning coils or parts at the back, the manual will tell you what’s safe.